Cron jobs are Linux’s equivalent to what most of us know as scheduled tasks in Windows. You tell the computer what to do, when to do it and how often to repeat it. You can run many things. From open up a web page to executing a script. Which is why sometimes you will find plugins or scripts asking you to set up a cron job to update its data and be able to run smoothly.
To run a cron job you will need several things
- A script to run
- In some instances, depending what you are executing, a web server with WGET or cURL installed
- Know how often you want to run the command
- Know at what times you want to run the command.
These days most scripts will give you item #1 the script or the URL of the script to run. For the purposes of this demo, we are going to show you how to run a Cron job for the Wishlist Plugin on a cPanel web host. If you are trying to set up a cron job for another script, the steps to do it are the same. The only difference would be the command/script URL to run.
- Log in to cPanel
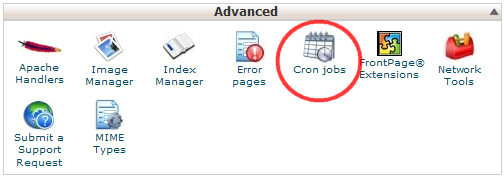
- Look for the Cron jobs icon under Advanced. Click the icon.
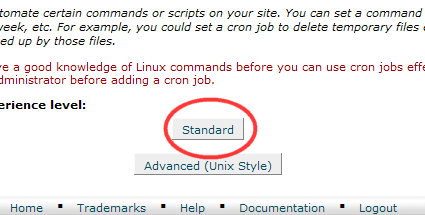
- Click Standard experience level.
- If you would like to receive an email every time this cron job runs, enter your email address here. This will let you know that the script executed properly or ran into an error. Please note you could get a lot of emails if you run the job very often. Also, sometimes depending on the script you will not get any output at all making the email rather meaningless and the results of email can sometimes be very technical. My normal recommendation is to enter it in the beginning just to check if all is running as it should and turn it off once the job is running smoothly without errors.
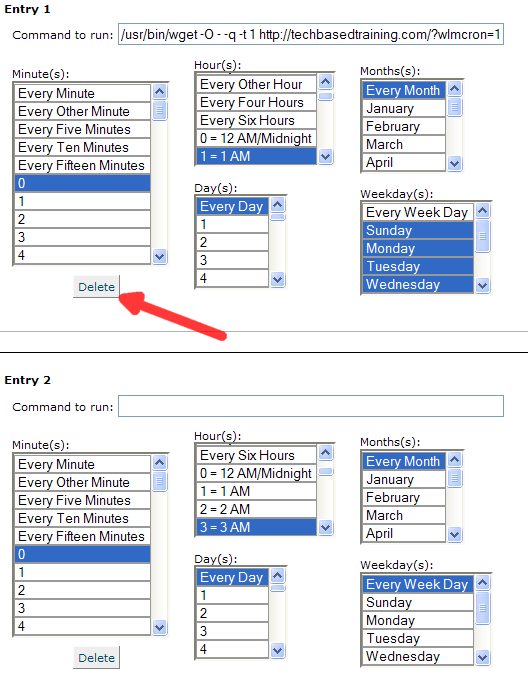
- Select the minutes, hours, days, months or weekdays you’d like to run your command. If you select hour 1AM and Minute 5 that means the job will run at 1:05 AM. If you want it to run all the time every single day of the year, select Every Day, Every Month and all days of the week.
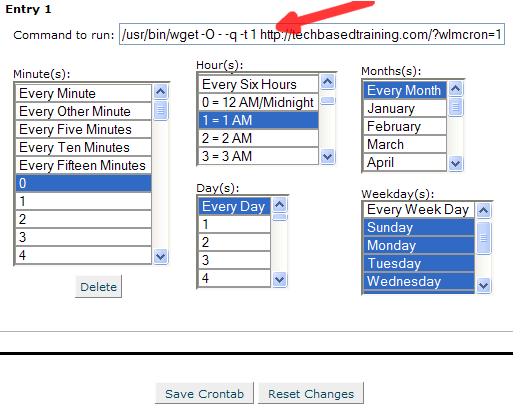
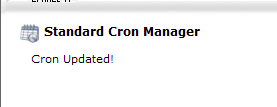
- Once you are satisfied with your settings, click Save Crontab. You will receive a success message
- The next time you visit Cron Jobs and click on Standard, you will see your cron job in the list. You will also be given another entry to run more cron jobs if you wish. If you do not want to run the cron job anymore just click the Delete button under each Cron entry.
- Once it is set up, you may log out of cPanel. Continue to monitor your emails if you set it to send you emails. If you want to remove your email come back to step 4, remove your email and click Save Crontab. You can leave the email field blank.
