Objective: to create an account and a page or, as Squidoo calls pages, a lens
-
STEP 1: Create an Account at http://www.squidoo.com/
-
Click Sign Up
-
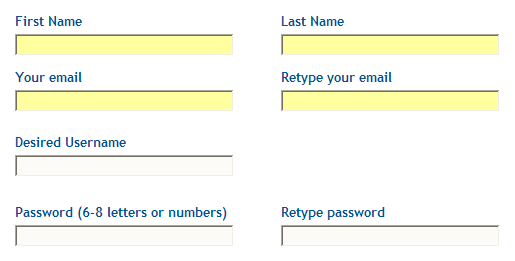
Fill in the Form
-
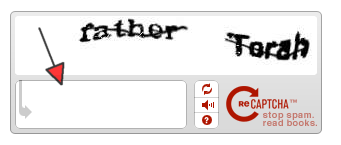
Click inside the text box at the bottom
-
Type the words you see that are written above the text box
-
Click on Terms of Service and read the terms
-
Click inside the box if you accept the Terms of Service
-
Click inside the boxes if you want to receive a daily newsletter and/or weekly tip sheet
-
Click Continue
-
Check Your Email
-
Squidoo sends you an email with instructions to activate your account
-
Follow the instructions in the email message
-
-
STEP 2: Create a Squidoo Page
-
Click inside the text box
-
Squidoo refers to a page as a lens
-
When you see “Make a Lens” or “Why Have a Lens,” Squidoo is saying “Make a Page” or “Why Have a Page”
-
-
Type the topic of your page (lens)
-
A topic something that matter to you
-
Examples: “Why You Should Hire Me,” “Online Marketing,” “Starting an Online Business,” etc.
-
-
Click Go to Step 2
-
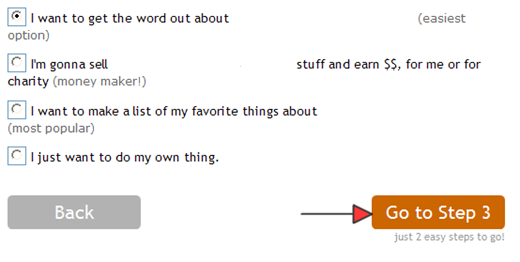
Select the option that best describes what you want to do with your page
-
Click Go to Step 3
-
Click in the text box and type a title for your page
-
What you entered as a topic will be in the text box
-
Squidoo suggests that clever page titles make great first impressions
-
-
Enter the URL for your page.
-
The URL cannot be changed
-
“If you lens is about dashchunds, try adding the word dashchund to the box. If your lens is about making paper airplanes, add paperairplanes to the box.”
-
Squidoo will inform you if the name is already in use by someone else
-
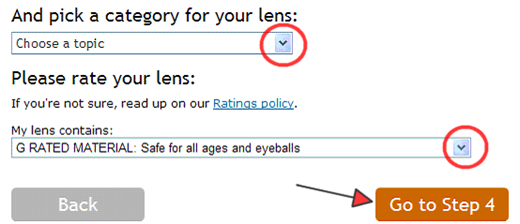
Click the arrow to the right Choose a Topic box
-
Select the category that best describes your topic
-
-
Click the arrow to the right of the box that rates the content of your page
-
Select the rating that is most appropriate for your page
-
-
Click Go to Step 4
-
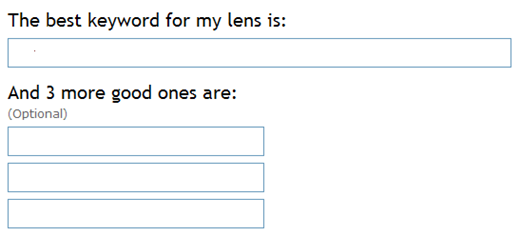
Type some key words that will help people to find your page
-
If someone were using Google, what words might someone use to find your topic?
-
Another name for keywords are tags
-
The keywords are your lens tags (or page tags)
-
Click inside the text box
-
Type the word you see that is to the left of the text box
-
-
Click Done
-
STEP 3: Add a Bio and Upload a Photo to Your Bio
-
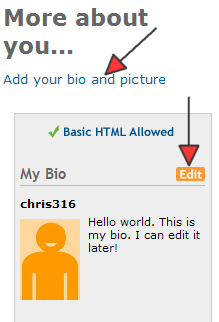
Click Add Your Bio and Picture or
-
Click Edit to the right of My Bio
-
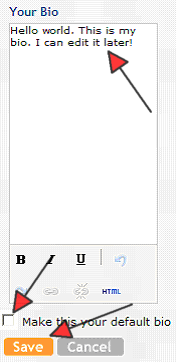
Click in text box for Your Bio
-
Delete the text Squidoo provides
-
-
Write a short bio of yourself
-
Squidoo allows you to format text
-
B = Bold
-
I = Italics
-
U = Underline
-
-
-
Click the box next to Make this your default bio
-
Click Save
-
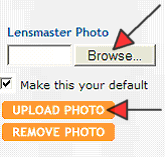
Click Browse to find a photo to upload
-
Select the folder on your computer that contains the photo you want
-
Select the photo
-
Click Open
-
-
Click Upload Photo
-
STEP 4: Invite Friends
-
Click My Account
-
Click Invite a Friend
-
Fill in the form
-
Click Add Another if you want to invite more friends
-
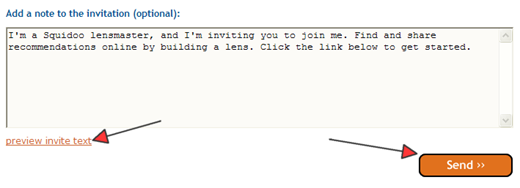
Type the message you want to send to your friends or
-
Use the message that Squidoo provides
-
Click Preview Invite Text to see Squidoo’s invitation message
-
-
Click Send
-
STEP 5: Edit/Add a Page (Lens)
-
Click My Lenses
-
Click Edit
-
Click Create a Lens if you want to add a new page
-
Click Delete is you want to delete a page
-
Click the up or down arrow to change the order of the module
-
STEP 6: Add a Photo to a Page
-
Click Edit
-
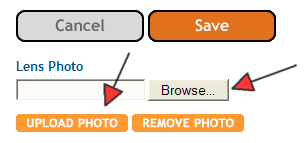
Click Browse
-
Find the folder and photo on your computer that you want to upload
-
Click Open
-
-
Click Upload Photo
-
STEP 7: Adding Text
-
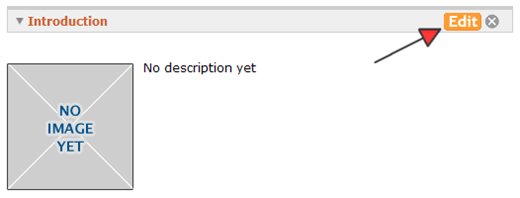
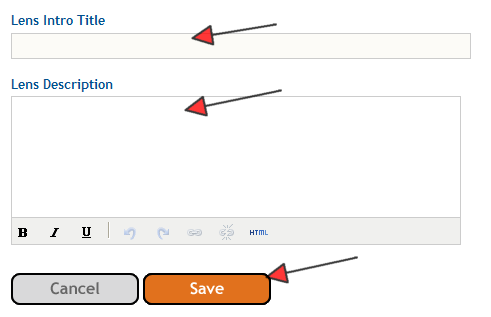
Click Edit on the Introduction module
-
Click inside the text box for Lens Intro Title
-
Create a title for the introduction
-
Hit Tab
-
-
Type a description
-
Squidoo allows you to format text
-
B = Bold
-
I = Italics
-
U = Underline
-
-
Click Save
-
STEP 8: Public Your Page (lens)
-
STEP 9: Exit Squidoo
-
Click Log Out


