Google Webfonts is a web design resource. You get to use a library of beautiful fonts that help make your design ‘pop’ at the same time you reduce the load on your own site because you aren’t hosting these fonts yourself. Google does. One great way to use it is in blog signatures. Many people use a graphic but they don’t have to with a little CSS and Google webfont magic.
This tutorial shows you how to use Google Webfonts on a signature in a blog post but really you can apply it anywhere using the same principles.
Step 1
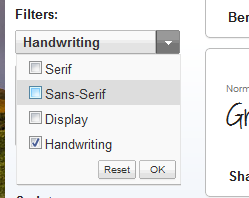
Go to Google Webfonts to select the best font for your project. In this case, we will be using something that looks more or less like handwriting. Use the filters to help you narrow down what you’re looking for or if you have a name, use the search feature. We chose Crafty Girls.

Step 2
Click the Quick Use link to proceed to the next screen

Step 3
Scroll down the page till you see the blue box where it gives you the code to copy and paste. You can use either Standard or Import the net effect is the same. We will use Import because it is the easiest to implement whether using a child theme or not but especially useful when you are using a child theme. Copy that code.

Step 4
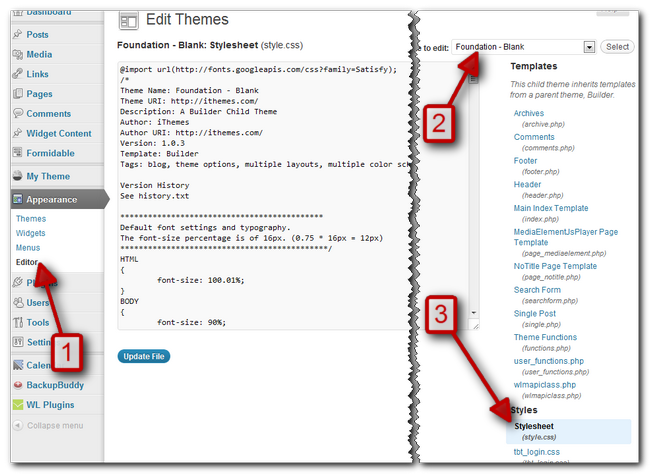
Go to Appearance > Editor > In the drop down, make sure the correct theme is selected > If it is, make sure your style.css file is selected as well.
Step 5
Now we will paste the code into our theme’s style.css file, I like to paste it on the very top. then Update the file to save.
![]()
Step 6
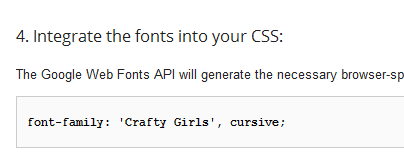
Go back to Google Web Fonts, scroll down to the 4th step there to grab this line of code.
Step 7
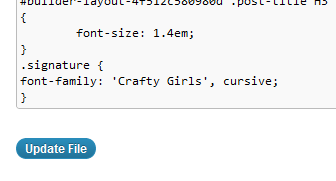
Still editing style.css, skip all the way to the bottom and enter/paste the code like this. Here we are creating a new class so we can call it anytime we need to use it. We named the class signature but you can name it anything you want as long as it is not the same as another style elsewhere on this stylesheet or other stylesheets so make it unique. Update to save when done.
Step 8
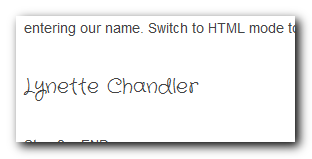
Now, we can use this font anytime, anywhere on our site. For example, when we are writing our post and entering our name. Switch to HTML mode to add the class like this.

Step 9 – END
Review your post and you’ll see your name in this cute font.
Step 10 – Optional
If you find the font is too small, you can adjust it to fit the design of your site. Like this. Your font size measurements may be different as other factors in your theme may affect it. You can also change font color and so on.

Prefer A Video Walk Through?
Here’s a video showing the same steps above. To make the video larger for easier viewing, hover your mouse over the bottom right corner of the video and click on this full screen icon. ![]() Also note, the video has no audio, so there’s no need to turn on your speakers 🙂
Also note, the video has no audio, so there’s no need to turn on your speakers 🙂
[ss3vdo bucket=”m.techbasedtraining.com/kb” file=”webfonts.mp4″ width=”500″ height=”281″]

